

A few weeks ago, we mentioned that one of our main goals this year was to finish the butcher block counter (and corresponding cabinets) we built to give our kitchen some extra horizontal work space and culinary device storage capacity. Finally, after more than a year of testing it in-place, we slapped some doors on it and put a water-resistant finish on the top. There are a couple naggly things to finish up yet, like deciding whether we also want to finish the cabinet doors, but by and large, we think the project is ready for blog-reader eyes.
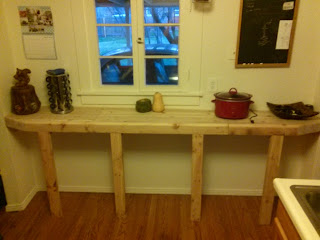 |
| This is what it looked like a year ago. We made the top out of reclaimed 2 x 4s (yep, pine!) that we planed clean and glued together. The end-to-end length is about eight feet, so we made each row out of a six-footer and a two-footer, alternating the two-foot ends (i.e., one row was 6-2, the next was 2-6, and so on). Its about 16 inches front to back. Despite our best efforts, there was a stretch in the middle where they didnt line up perfectly. It took us about a year to acquire a belt sander, which made the job of blending the slabs tolerable. |
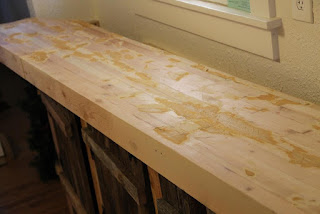 |
| We also needed the sawdust from sanding to make some wood putty, of which a significant amount was required to fill in all the imperfections in the wood. |
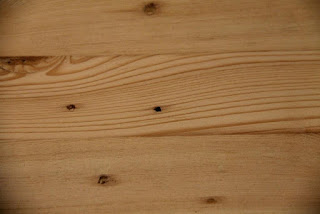 |
| For example, there were a lot of nail holes like these. |
 |
| After filling with putty and sanding, the same holes looked like this. Theres a bit of discoloration around the nail holes yet, but they almost look like tiny knots. |
 |
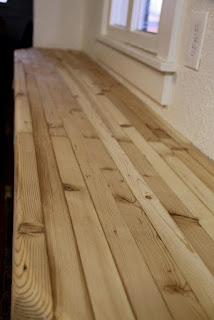
| Viewed from the angle of a typical adult human walking by, the now-filled holes look downright acceptable. However, with a lot of board-to-board color variation like this, the sawdust used to make the putty doesnt actually match any of the wood colors perfectly. |
 |
| Back in place in the kitchen, its time to add some water resistant coating. We could have maybe foregone the finish, but Jake does a lot of drooling when Katies cooking. Better not to risk it. |
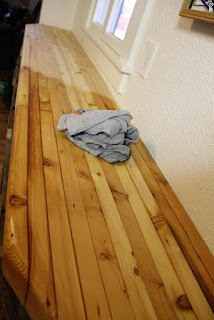 |
| We used the Howards butcher block conditioner, which is a mix of mineral oil, beeswax, and Carnauba wax. It definitely enhanced the wood color and soaked in pretty quickly. |
 |
| Finished top. Katie approves. |
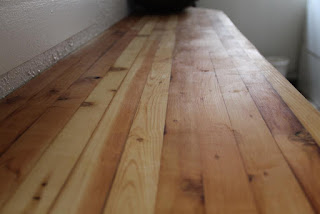 |
| Theres a bit of a sheen to it, but not too bad. |
 |
| Add some rustic-looking doors, and this thing is starting to get some personality! Of course, if you build the doors while the top is off, they might not fit perfectly. |
 |
| There, thats better. |
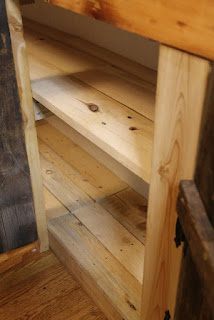 |
| Oh yeah, forgot to mention the shelves. Theyre reclaimed pallet wood from the two best pallets weve ever acquired. The top was hardwood (aspen, judging by the scent when cutting it), the bottom had some nice blue-stain pine. |
 |
| Finally, seal the edge with some silicone caulk to prevent water from getting back there and to prevent potential admirers from noticing the uneven ends. |
 |
| Done! (as long as we decide not to coat the doors...) |

Related Posts by Categories


0 komentar:
Posting Komentar